The best uses of artificial intelligence in medicine and disease diagnosis
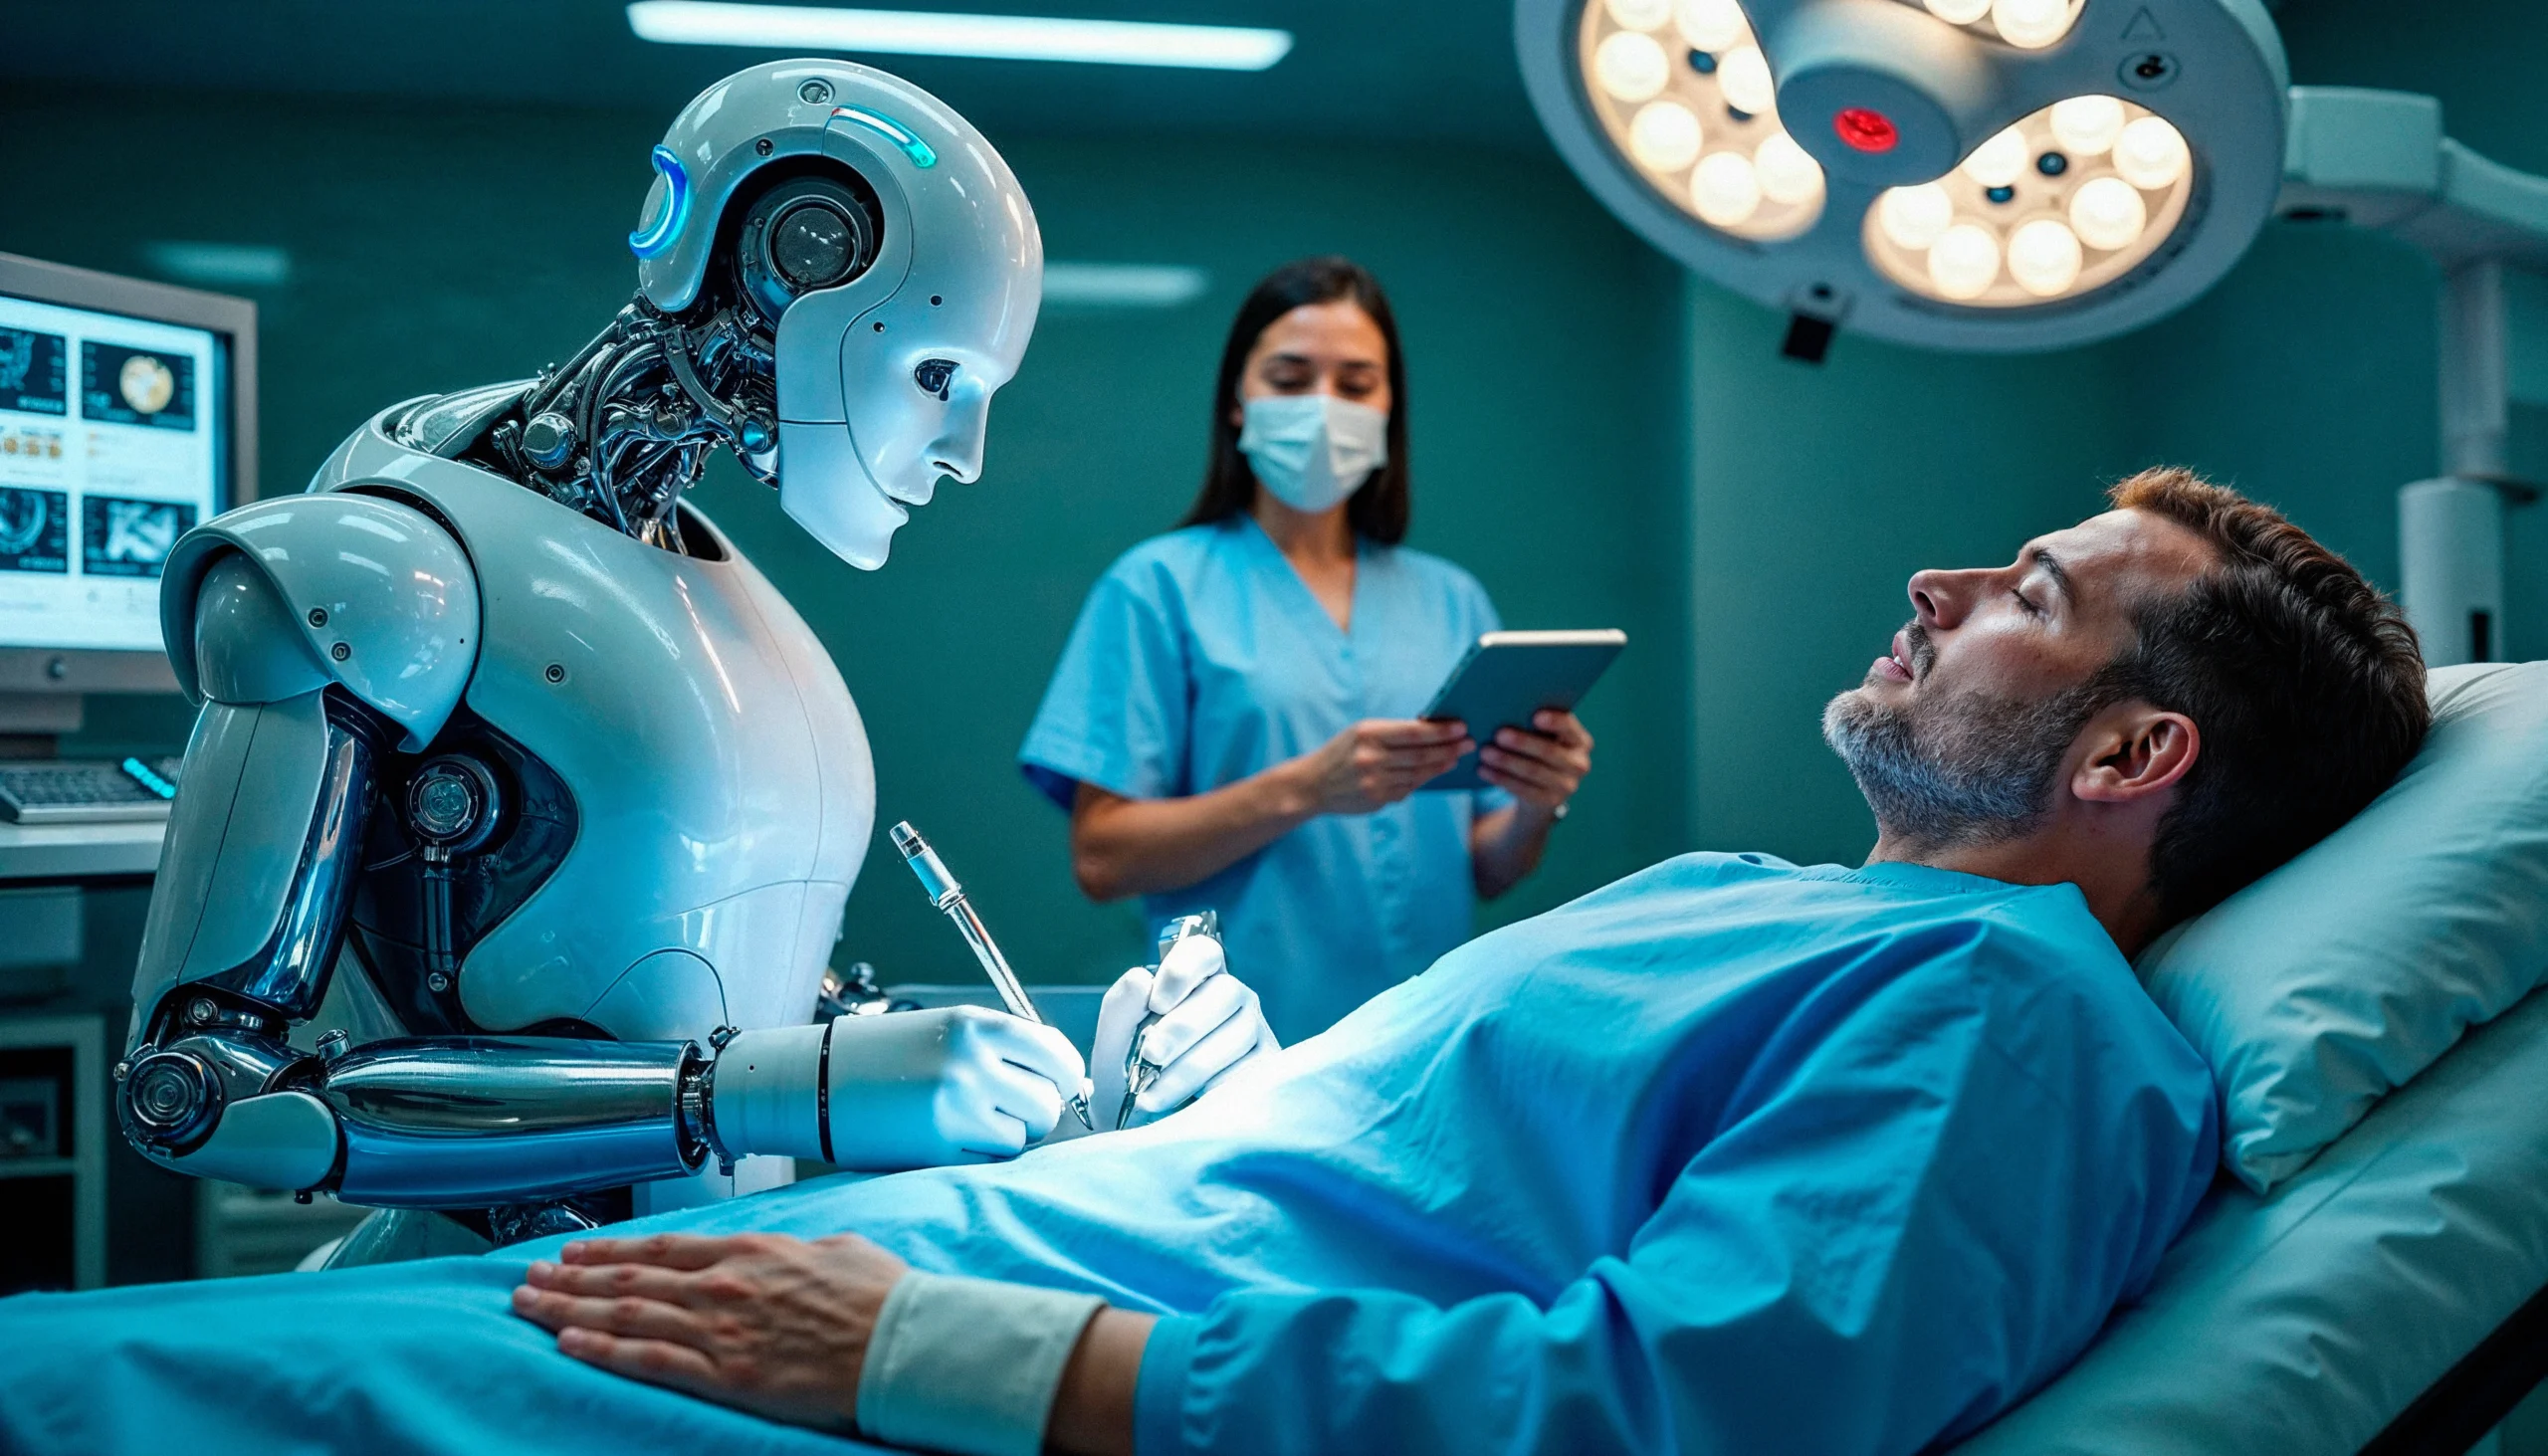
Artificial intelligence has made a powerful entry into the medical field, and its role is no longer limited to traditional data analysis. Today, it can diagnose tumors, detect early-stage diseases in scans, and even predict the likelihood of future illness before symptoms appear. Imagine your doctor being able to identify a risk before you even feel it—this is the essence of technological advancement.
The most prominent current applications rely on reading X-ray images with a precision exceeding that of the human eye. Artificial intelligence systems have proven their ability to detect breast cancer in its early stages with a very high rate, saving the lives of thousands of patients worldwide. These technologies are also used to analyze heartbeats, examine the retina, and interpret laboratory results in seconds.
At TechGate, we see that AI in medicine won’t replace doctors, but rather empower them, enabling faster diagnoses, reducing medical errors, and improving early treatment opportunities. The future of medicine is becoming more precise, making AI the greatest revolution in human health.